Change colours, corners, borders and text
You get shapes in the colours you want, text in the font you want, and a canvas that suits the review.
Select the shape first: see Select, arrange and undo on a prototype. The controls are in the Design tab of the inspector.
Colour a shape
- Select a shape. Its colour rows appear in the inspector.
- Each row shows a small thumbnail of the colour, then the colour's hex (or the name of its style, or Linear gradient or Radial gradient), then its opacity as a percentage. To change the colour by typing, edit the hex. To change the opacity, type a number from 0 to 100 in the opacity field, or drag sideways from its left edge.
- For more, click the thumbnail to open the picker. The shape repaints as you move through it.
- Close the picker. That saves everything you changed in it as one step, so one undo takes it all back.
Which rows you get depends on the shape:
| Shape | Rows |
|---|---|
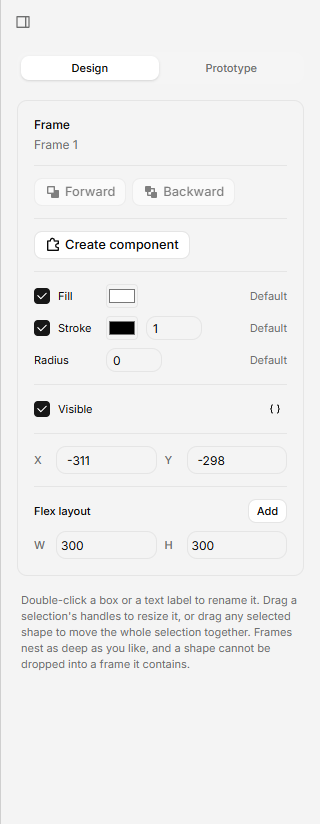
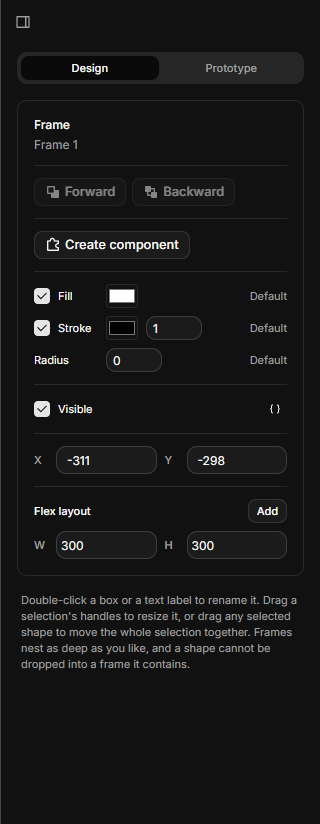
| Frame | Fill, Stroke (its border, with a Border width field in the same row), Radius |
| Box | Fill, Stroke |
| Text | Fill, which colours the letters |
| Line | Stroke |
A box's label turns light or dark by itself, so it stays readable on whatever fill you pick.
Pick a colour in the picker
- Drag in the colour area to set how vivid and how light the colour is. The arrow keys move it too, and Shift moves further.
- Drag the Hue slider to change the colour, and the Opacity slider to make it see-through.
- Or type it. Choose HEX, RGB, HSL or HSB and edit the fields, with Alpha % at the end. A field that is half typed waits until it makes sense; leaving it puts the colour back.
- In Chrome and Edge, click Pick a colour from the screen and click anywhere on screen to take that colour. Other browsers don't show the button.
Below the picker are two rows of swatches:
- Styles are the board's colour variables (see Change a prototype while it plays with variables). Click one and the shape is bound to it: the row shows the style's name, and changing the variable changes the shape. Picking a colour by hand unbinds it.
- Document colours are the colours already used on the board. Click one to use it.
Fill with a gradient
On a frame or a box, the first list in the picker is Fill type: Solid, Linear or Radial. Text and lines take a solid colour only.
- Choose Linear or Radial. The gradient starts as your colour fading to clear.
- Click a stop on the bar to pick which colour you are editing, then change it as above. Stop opacity sets how see-through that stop is.
- Click the bar to add a stop, or click Add stop. Drag a stop to move it, or use the arrow keys.
- Click Remove stop, or press Delete on a stop, to remove it. A gradient has 2 to 8 stops.
- For a linear gradient, type its direction in degrees in Angle.
Turn a colour off, or put it back
- Click the eye beside Fill or Stroke. The shape goes clear there, and the colour is remembered for when you click it again.
- Click Default to go back to the colour the theme gives. Where it is already the default, Default is plain grey text and not a button.
Round the corners and thicken the border
- Select a frame.
- Type a number from 1 to 16 in Border width, or from 0 to 64 in Radius, or drag sideways from the field's left edge. Shift moves 10 at a time.
- Press Enter, or click elsewhere, to save. A drag saves when you let go.
The border grows inwards, so the frame doesn't get bigger. Border width is greyed out while Stroke is off.
Set the font and type
Select a text. Below its colour rows the Design tab has a type section:
| Row | What it sets |
|---|---|
| Font | One of ten fonts, grouped as Sans, Serif, Display, Mono and Handwriting |
| Font size | 1 to 400 |
| Font weight | The weights the font offers, such as 400 Regular or 700 Bold |
| Line height | 50 to 300 %, and 120 % until you change it |
| Letter spacing | -50 to 100 %, and 0 until you change it |
| Text alignment | Align left, Align centre or Align right |
| Underline and Strikethrough | Two buttons, each on or off. Both can be on |
| Text resizing | Auto width, Auto height or Fixed size: see Name things and edit text |
The fonts are Inter, Roboto, Open Sans, Montserrat, Lora, Merriweather, Playfair Display, Geist Mono, Roboto Mono and Caveat. They come with the app, so nothing needs installing, and Inter is the default. While a font downloads, a stand-in font shows, and the text redraws when it arrives. A font that offers fewer weights moves the text to its nearest weight.
Numbers repaint as you type, and save when you press Enter or click elsewhere. The buttons and the Font and Font weight lists save at once.
Bind a label or Visible to a variable
The braces button beside Visible, and beside Label on text and boxes, binds that property to a variable, so a click in Present can change it. While Visible is bound its box is off. See Change a prototype while it plays with variables.
Set up the canvas
Click empty canvas so nothing is selected. The inspector then shows the board's own settings.
- Canvas colour: click the swatch to colour the backdrop. Everyone who opens the board sees it, and so does Present. Click Reset to go back to the theme's.
- Show dot grid: tick it for a grid of dots. It is a choice for you in this browser, and it is off until you tick it.
A colour you pick is saved to the shape or board it was picked for, even if you click somewhere else before closing the picker.
If it doesn't work
- A colour was gone after I reloaded. Close the picker before you leave the page. Colours are saved when it closes, and one picked while the page was closing may not save.
- I can't open the picker. Its thumbnail is greyed out while the eye beside it is off. Click the eye first.