Add bands to a blueprint or journey map
You get a process diagram split into bands, so each step sits in the part of the service it belongs to, such as frontstage or backstage. The inspector lists them under Bands.
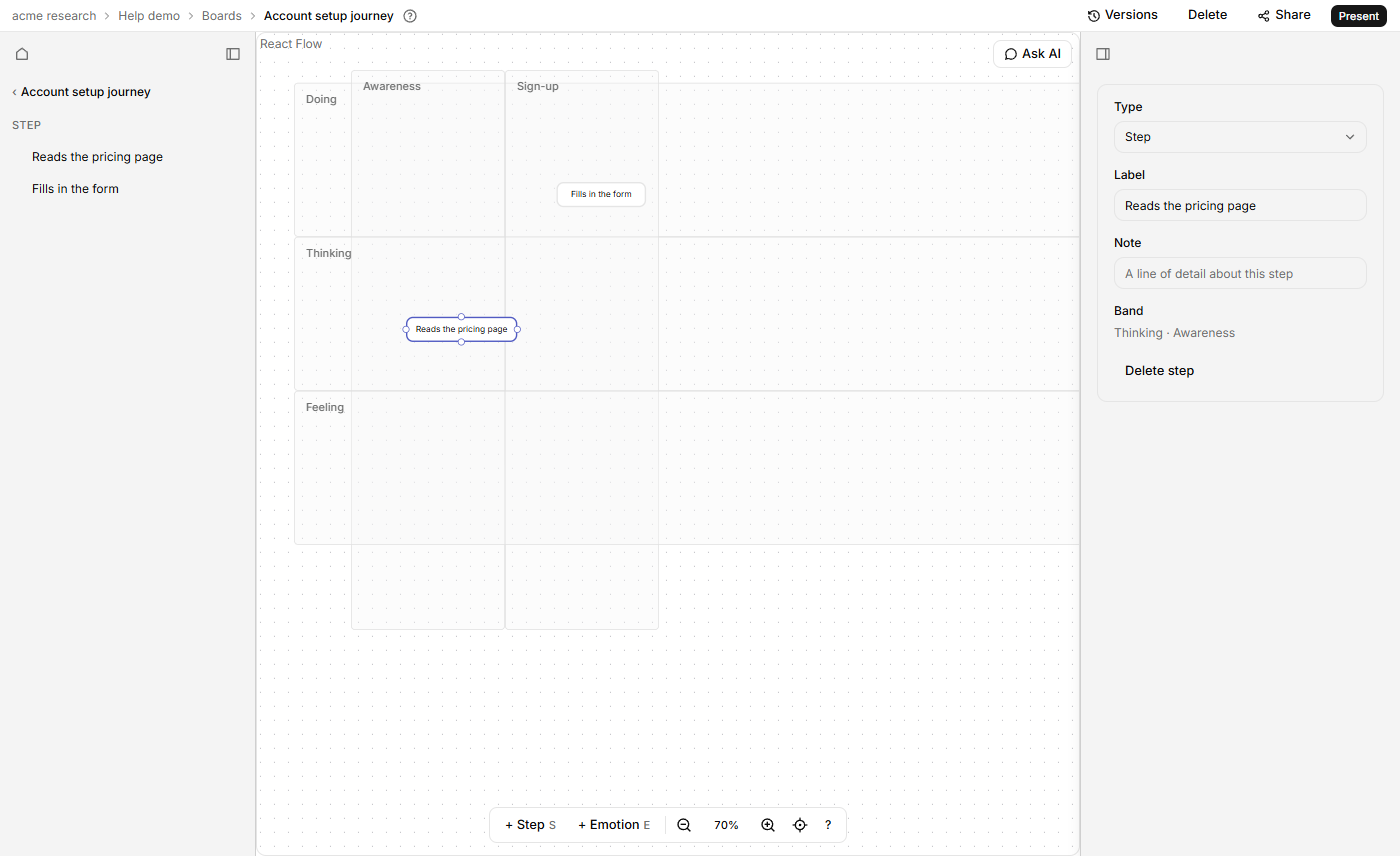
A service blueprint has rows. A journey map has rows and columns, so a step can sit in a stage (a column) and a kind of thing happening (a row). Make one first: see Create a board. Steps work as on any process diagram: see Draw a process diagram.
Start from the journey template
On a new journey map with no bands, click an empty part of the canvas so nothing is selected. The inspector shows Use journey template, with the note "Four phases across, and Actions, Thoughts and Emotions down." Click it (it reads "Adding bands…" for a moment) and you get four columns, Awareness, Consideration, Decision and Use, and three rows, Actions, Thoughts and Emotions. The button goes away once the map has a band, so a template never lands on top of your own. Rename or remove any of them as below.
Plot emotions on a journey map
A journey map's bar at the bottom has + Step (S) and + Emotion (E). Click + Emotion to add a dot with its name field open. Type a name such as "Relieved" and press Enter. A dot with no name reads "Feeling". Double-click it to rename it later.
Drag the dot into the Emotions row: how high it sits there is how good or bad the moment felt. Once two or more dots are on the map, a line joins them from left to right, so the shape of the journey shows at a glance. The line follows as you drag, and the dots have no arrows of their own.
Add a band
- Click an empty part of the canvas so nothing is selected. The inspector shows Bands.
- On a journey map, click Row or Column. A blueprint has rows only.
- Type a name in Add a band. The hint is "Frontstage" on rows and "Awareness" on columns.
- Click Add band.
The band appears with its name along the edge. Each new band goes after the last one on its axis: rows stack downwards, columns run to the right. Add band with no name shows "Name the band first."
Bands can't be moved or reordered. Removing one leaves a gap, and new bands still go after the last one.
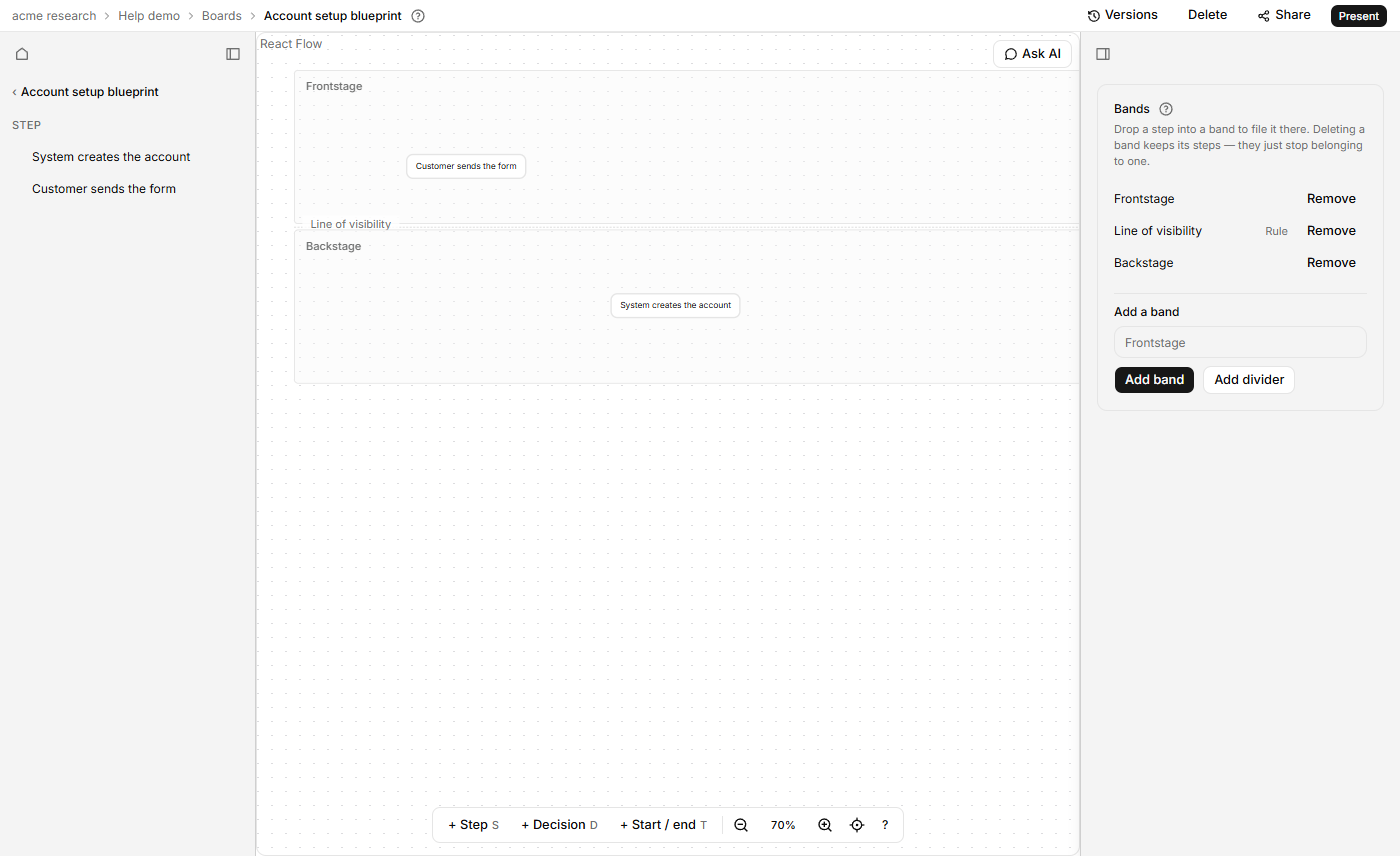
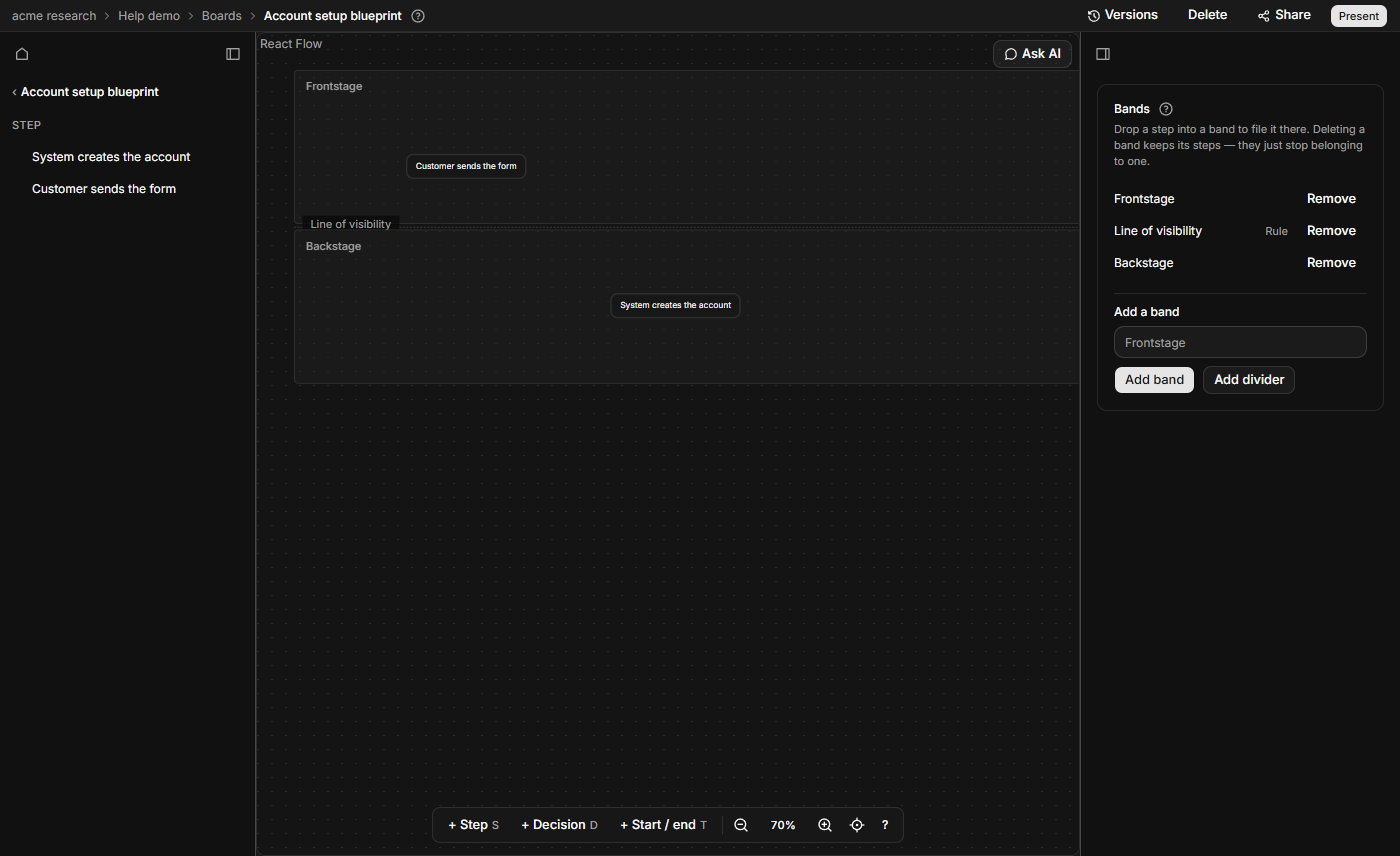
Add a line of visibility
Click Add divider. A divider is a dashed line between bands, such as the line of visibility on a blueprint. Its name is optional and defaults to "Line of visibility". It is marked Rule in the list.
To get Frontstage, then the line, then Backstage, add them in that order. A step dropped on a divider belongs to no band.
Put steps in bands
- Drag a step into a band. The band under the middle of the step is the one it joins. A step you add inside a band isn't in it until you drag it.
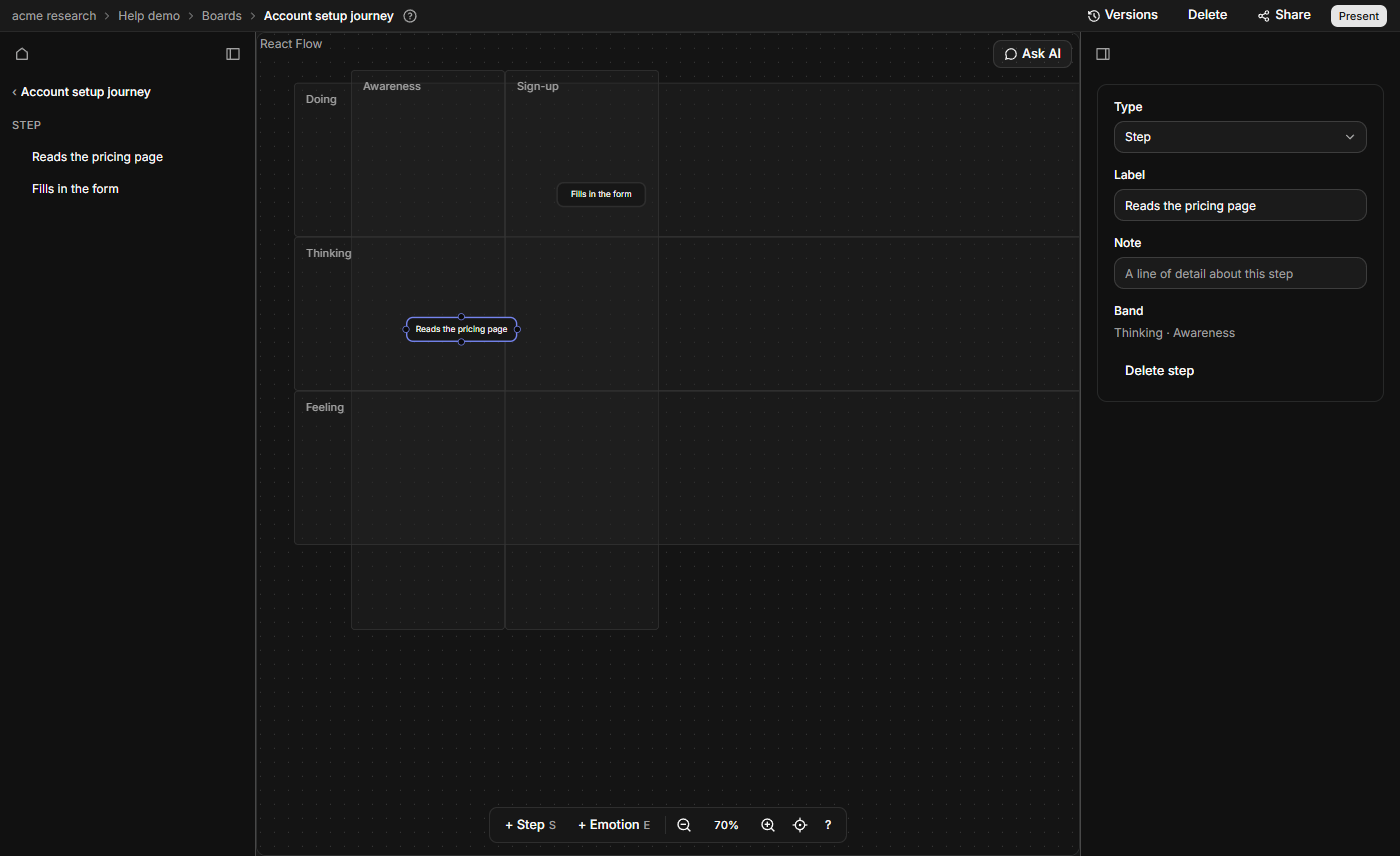
- Select the step. The inspector shows Band, with the band names such as "Thinking · Awareness", the row first.
Drag a step out of every band to unfile it. Bands are background only, so you can't click or drag them.
Rename or remove a band
Click a band's name in the Bands list, type, and press Enter. Click Remove to delete it. Its steps stay where they are and stop belonging to a band.